Category Archives: Party Planning

DIY baby fairy or ballerina

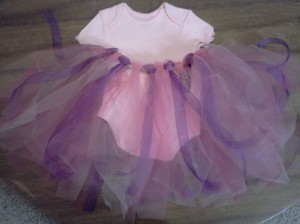
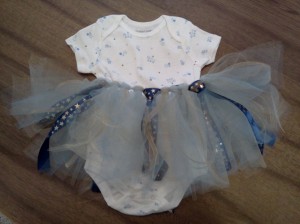
 IMG334 IMG335

I originally made these little tutu’s as a baby gift for a friend but just love them as regular dress up box items or fun, quick and easy Halloween costumes for the little ones. Whether this costume is to play in around the house, or wear over to Grandma’s for the first Halloween Oooooo’s and Ahhhh’s, these little skirts are sure to please! Here’s how you make them…

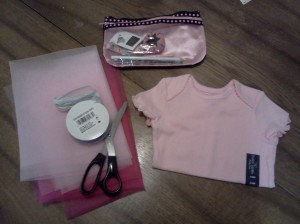
First assemble your needed supplies… elastic for the waist band (measure a little snug or short the measurement by an inch or two on the baby or child so that it still fits once you add all the fluff), needle and thread, measuring tape, pins, scissors, and tulle/ribbon in various colors.

IMG326

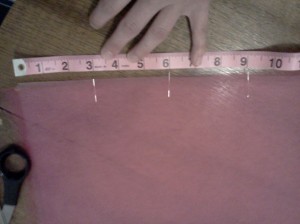
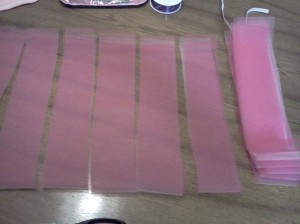
Lay out the tool on a flat cutting surface – measure and mark the width you want your strips to be -and place a pin in each to hold them together? I doubled over the tulle I had, and then layered three pieces together so I could cut the whole skirt all at once. If you have a rotary cutter and sewing mat this process goes crazy quick! (Remember to make the length of the strips twice the length you want them to be for the finished skirt. Each piece will be folded over and looped around the waist band as the attachment method.)

IMG328 IMG329

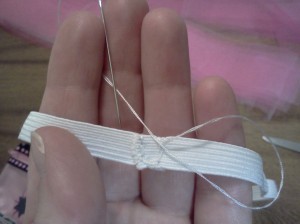
Once you have all of your strips of ribbon and tulle cut into equal lengths, make your waist band for them to loop around. Make sure to make the waist a little smaller than the actual child. Once you start adding the fluff the elastic will stretch a bit and the final size will actually be bigger than you start with.

IMG331

Finally Take two to three pieces of tulle at a time or a piece of tulle and a piece of ribbon and match them up one on top of the other. fold all three pieces in half and loop them around the waist band making a small knot at the waist band to hold them in place. You want to make sure to have multiple layers of tulle in each loop to ensure the skirt is nice and full. Also having multiple colors in each loop creates a nice depth and whimsy.

IMG332

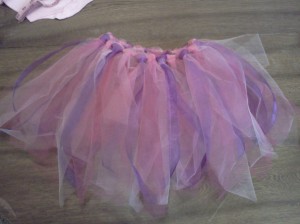
Aaaaaaaand vowala you have an adorable and fun tutu or fairy skirt in no time!

Leave a comment

Filed under Budget, Children, Crafts and Gifts, DIY, Halloween, Party Planning

Fruit Sushi

Created with Nokia Smart Cam

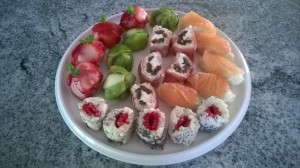
I have always loved the look of sushi. It looks wonderful as it comes to the table (you just know a lot of work and love went into making it). Unfortunately I happen to be allergic to fish…like all fish! So sadly I have never been able to have sushi. For many years I wanted to make sushi for a party even though I couldn’t have it, but recently was struck by lightening as I thought (why not just make sushi you can actually eat?! Sushi with fish isn’t the only sushi out there!) I had a few ideas in mind but decided to google fruit sushi to see what other people may have tried (what worked and what failed) and I found an overwhelming number of great recipes from home chefs all over the world. Here are two websites that I used and/or took inspiration from.

Fruit Sushi — Sushi de fruits

http://www.sheknows.com/food-and-recipes/articles/1035627/fruit-sushi-recipe

I started with these ideas and recipes and then made my own variations. It all turned out wonderful and was a great hit at the dinner party I took it to…but I think in the future I will also make some dipping sauces to go along side of these pretty little treats. After all regular sushi has soy sauce…why shouldn’t fruit sushi have a raspberry and balsamic glaze for dipping!?

In addition to the recipes from these two sites I also made up my own sushi roll and the recipe is as follows…

  • 4 pieces of prosciutto slightly overlapping on a piece of parchment paper.
  • Then add a thin layer of the rice pudding/sticky rice.
  • Layer sliced figs (or dates) and goat cheese in the center

When you roll up the sushi really press the whole thing together pretty tight so the rice doesn’t fall out when cutting. Then once you have your neat slices, turn them on the side to show your lovely design and enjoy.

Leave a comment

Filed under DIY, Food and Drink, Party Planning, Recipes

School Store Ideas

The end of the year is upon us, and for our family, that means finding crafts for our kids to do in their economics classes.  I scoured Pinterest, but it was rough finding any kid store tested ideas.  Here are some ideas for those who are interested.

10320298_10152523461472652_2522932363097623521_n

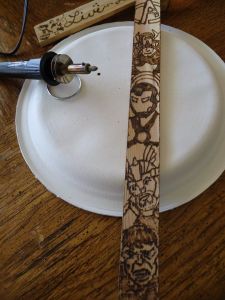
My 5th grader used a wood burner and a metal engraver.  I had to help with the wood burner, so she drew or wrote, and I burned.

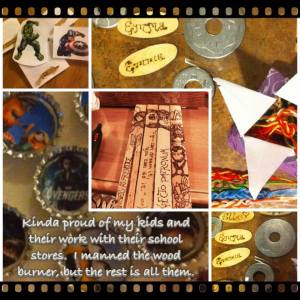
The metal washers were between 16-23 cents each and we only spent about $10.  Washers make for easy necklaces too.  A big bag of wooden ovals was $1.

10288802_10152534873022652_4421503124286897530_n

Next, the 5th grader did origami boxes, crocheted friendship bracelets, and monogrammed scrapbook papers. The engraver, though, ended up being used by both of the girls 3rd and 5th grade.  Easy and safe to use. The 3rd grader “laminated” (with clear packing tape) print outs of Avengers, Frozen, and Despicable Me characters, among others.  She then hot glued pins on the back.

Also laminated, were round bottle cap circles found on line, and glued with Elmer’s glue into bottle caps. Yes they do stay on and it is a lot easier and cheaper than finding diamond glue. She hot glued black yarn necklaces to the back. The left over circles, when we ran out of bottle caps, worked for cute necklaces for less school play money/tickets.

The 3rd grader’s 2 best necklaces, a BYU engraved washer and a Heart covered engraved washer, she raffled off and made more money than she would have sold them for.

For two kids, we made over 200 items, almost all sold out, and I spent a total of about $17 for both kids.  In turn, they both made a haul in their stores, raking in a total of $1500 in play school money.

Items they liked from other kids’ stores were: Flour filled Balloons referred to as “Keith” and cute clay accessories for Keith. Clear stone with pictures behind it, glued to a magnet. Designer Duct Tape bows for hair things. Rainbow looms were popular to make, but less to buy. Leather worked bracelets. Paper boxes labeled as “grab bags” with stickers inside. All sorts of food items (Although only the 5th grade was allowed edible items.) Hair Chalking Nail painting Face Painting Hair braiding Beaded Jewelry

Leave a comment

Filed under Crafts and Gifts, DIY, Motherhood, Party Planning

Big black frame for class party photo booth

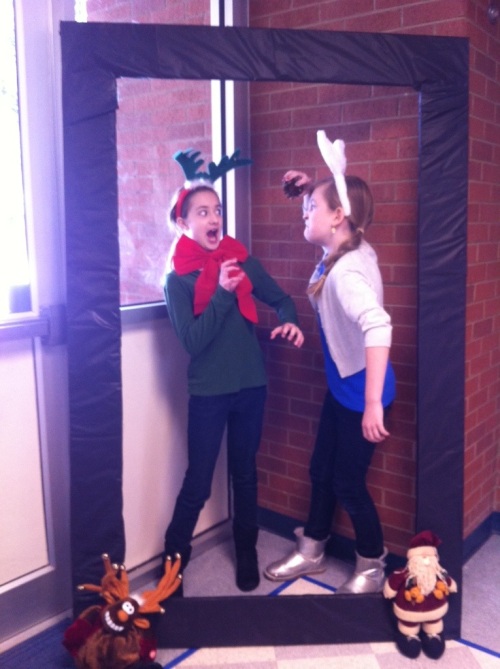
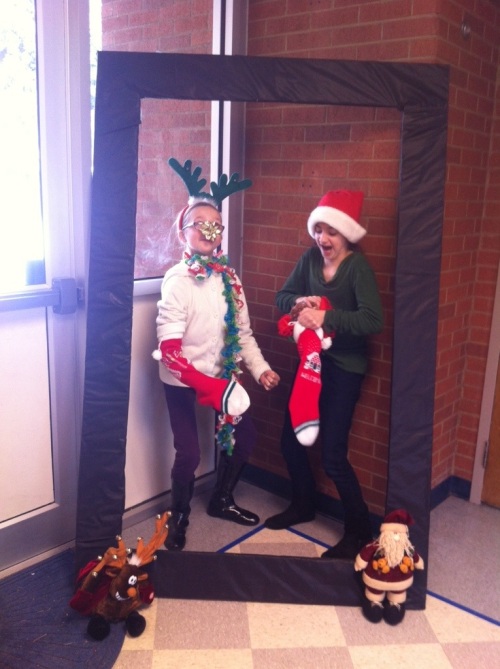
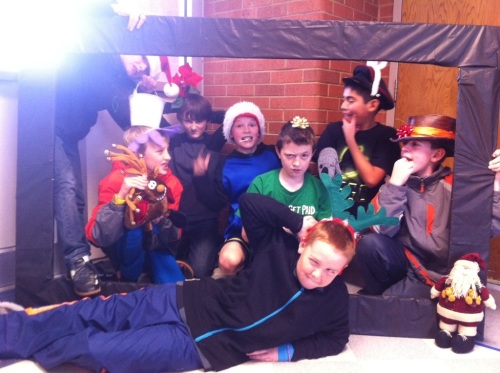
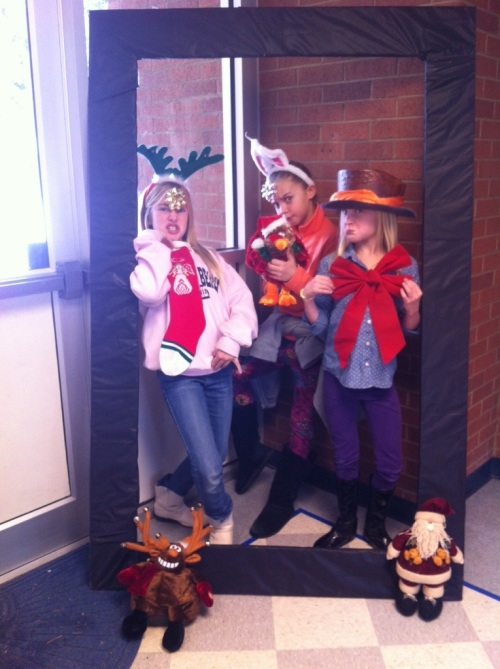
Frame, random props and a camera and you are ready to go! The kids have a blast.

20140103-141215.jpg

20140103-141349.jpg

20140103-141418.jpg

20140103-141503.jpg

1 Comment

Filed under Children, Crafts and Gifts, DIY, Motherhood, Party Planning, Uncategorized

Halloween Party on a Budget

IMG_0123

This year has been very busy.  I have an 8-year-old and an 11-year-old that have birthdays just about a month apart.  Like children do, they reminded me well after both birthdays had passed, that I had promised them each a party the year before and we had only done family celebrations.

I could have told them to deal, but we’ve never really had a reason to have an October party before.  Fun!  So, I decided to plan a party, that would entertain loads of giggling 7-12 year old girls.

The 11-year-old told me she didn’t want cake or cupcakes…  She wanted Fondue.  So, on the invite, we gave simple food assignments for a Bewitching Fondue Soiree.  I tweaked this gorgeous invite you can find here:

http://serendipitycreative.blogspot.com/2011/10/freebie-you-are-cordially-invited-to.html

One pot of cheese Fondue, and one of chocolate.

IMG_0100

Every child invited was assigned Fruit, veggies, or bread to share.

Later, for the “birthday cake” we dipped angel food cake into the chocolate.

Time for games.  I went to a party store and got a roll of carnival tickets for $2.  For each game, I doled out tickets.  the same amount for each participant and extra for the “winner”.  Then, at the end of the party, they got prizes Chuck E. Cheese style.

IMG_0124

Some of Our Party Games:

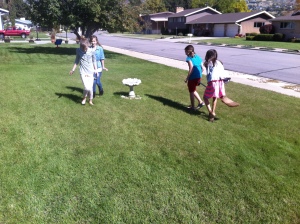
Witchy Races.  Two girls, one broom, no hands.  They had to “fly” from start to finish.

IMG_0094

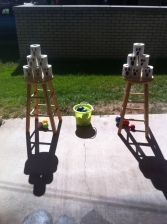
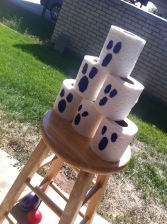
Ghost-Busting: It is a carnival game.  You get three shots to knock down the TP ghosts.  We went through a few rounds.

IMG_0101

courtesy of girlsvsblog

courtesy of girlsvsblog

The Making of the Mummy:  This one I was too busy helping with to take a pic.  With the TP from Ghost busting, you have a mummy wrapping contest.

Balloon-pop Charades:  Place charade ideas inside of balloons (i.e. Ghost, Ghoul, bat, vampire, etc.) and the kids take turns sitting on the balloon until it pops, and then playing charades normally.

IMG_0111Balloon Pop Charades

Paranoia Party Hats:  We had a hat making contest, using foil and scotch tape.  Let the kids be creative and do their own thing.  We gave awards to each kid.

IMG_0114

IMG_0123

The Vampire Count Game: We found this at a kiosk in a mall in Denver over a decade ago.  The kids love it.  You can find the game here:

http://www.amazon.com/Daves-25-Anytime-Family-Games/dp/B000FEW3QA

It is like hide and seek and murder in the dark combined.  The kids each take a card and secretly look at it.  one of them will have the Vampire count and the rest a gravestone with a funny name on it.  Everyone, including the vampire goes and hides in the dark.  After a few seconds, the vampire gets up, starts shuffling around as silly as possible, trying to make everyone laugh so he can find them.  No one runs, they have to stay put.  once touched by the vampire count, they become one too until everyone is shuffling around acting silly. Then the lights go on.

Leave a comment

Filed under Budget, Children, DIY, Family, Food and Drink, Halloween, Holidays, Motherhood, Party Planning

DIY Big Black Frame for photo booth and decor

With an upcoming Halloween/Birthday party, I wanted a huge frame for a photo booth.  Turns out, it is a cute overall decor item too!

Simple black frame from press board

Simple black frame from press board

It started when the fall clean up for our city was taking the large garbage items.  I looked a the huge piece of press board we had in the garage and wanted it re-purposed or thrown out.  With the upcoming party, I thought I’d repurpose it for a photo booth.

Step one: Find a work station.  I had nothing that large, so I used to long tables.

Step two:  Measure out and trace your frame.

Measure and trace the guide for cutting

Measure and trace the guide for cutting

Step three: Use a drill to make starting your cut and making corners easier.

Step four: Use your favorite saw for the job.  I love my jigsaw.

The hole you drilled helps you start cutting lowering your chance of a snapped blade.

The hole you drilled helps you start cutting lowering your chance of a snapped blade.

Step five: Admire your handiwork.  Take a break and grab your choice of covering.

The cut out frame

Step six: Cover the baby up.  I was going for a Halloween look, so I used a Dollar Store black plastic table cloth and packing tape, as I misplaced the duct tape I wanted.  Your size and shape makes a difference in how you wrap.  Mine was really large and I made it six inches thick the entire way around the frame.  So I cut the table cloth into strips and taped it.

Duct tape would have been better, but the packing tape held.

Duct tape would have been better, but the packing tape held.

Step seven: Admire your handiwork again.  It’s not too shabby and it didn’t take long.

Wrapped frame

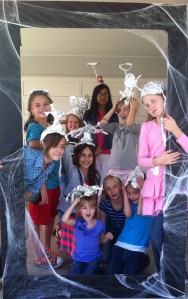
Step eight: Add embellishments like cobwebs and other decor.

Finished Product.

Finished Product.


For the party, I’ll move it out and prop it up, but for now, I rather like it by the door.


3 Comments

Filed under Budget, Crafts and Gifts, DIY, Party Planning