When it comes to costumes I have a couple of rules. Fun, Warm, and durable.
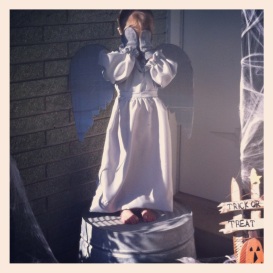
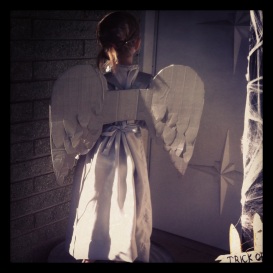
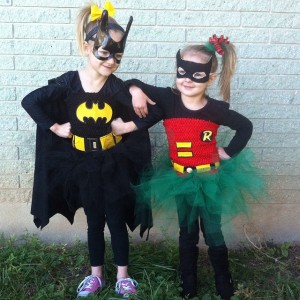
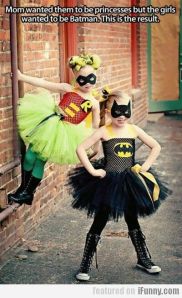
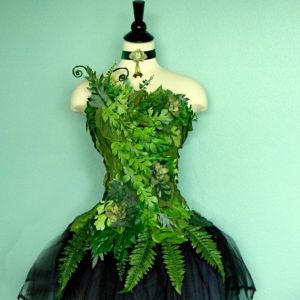
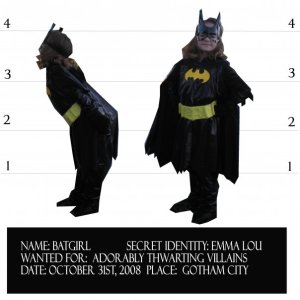
Having four girls is rough business for dressing alike. I tried to do it a lot when they were younger and then thought they’d hate it later and so it wasn’t worth the effort to find that much of one thing. My girls find their own way of matching anyway. Weeping Angels last year and this year they wanted to do Batman Characters. They were inspired by these pics on Pinterest. (I can’t find the original source of these and they are just awesome, so if you know, tell me so I can add the right credit)
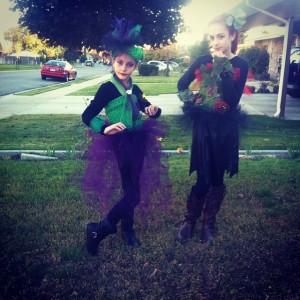
The Cosplayer part of me wanted to take these and make them a little less poofy and more comic booky or kid appropriate gritty. I started brainstorming. Batman and Robin for the little girls wasn’t a big deal. Joker with a tutu was going to e interesting, and Poison Ivy… well my Poison Ivy is 12. I wanted her covered and still looking like a pre-teen. A Challenge!
Confession time, unlike my wonderful counterpart Lexivsblog, I do not sew. Machines drive me batty. Last year’s angel dresses were like a Grandma sweat shop. My mom is a wonderful and giving woman. Anything for her grandkids. This year, I wanted to close down the sweat shop and give mom a break. I needed something that avoided the sewing machine. These pins the girls picked out looked promising and I decided to use what I could from them with what we had around the house as much as possible. The only times I make costumes is when it is cheaper than buying. I wanted it done on the cheap.
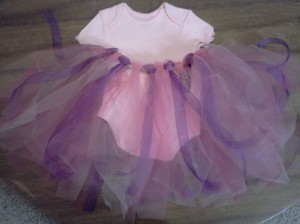
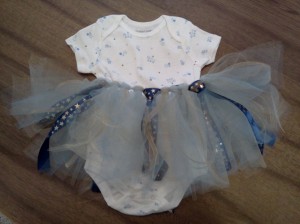
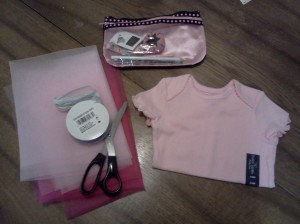
The first thing I needed was the crocheted top. I found these 10 inch tutu tops at The Hair Bow Company, and I was super happy to see that they are lined with a soft fabric. At $4.25/each this was the most expensive part of their costumes. Next I found Net instead of tulle for a grittier, gauzy look at 1.25/yrd. I got four yards for each girl, not knowing how much I would need.
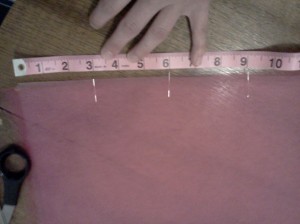
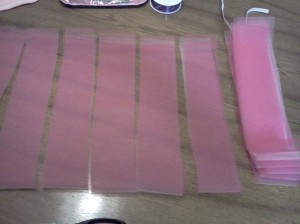
I used this fantastic cutter, cutting 4 in strips of the net.
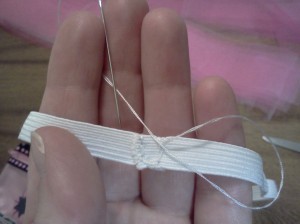
Then I tied the net through the crocheted top.
One half knot worked just fine. It doesn’t come out easy.
Also… word to the wise, netting rips really easily. Be gentile.
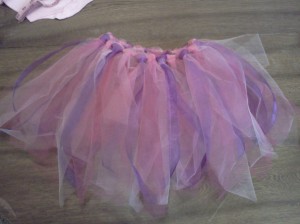
The skirt with cutting and tying, took about 30 minutes and for Robin’s fluffier, shorter costume, only used two yards. The others were equal to or less than two yards. I have a TON left over.
Not too shabby for about $7 and 30 minutes
but it needed more,,, and I was really worried about warmth and wardrobe malfunctions.
I poured through the girls’ closets for black long sleeved shirts and black leggings.
I also went through the dress-up bin and found an old Batman costume that was really worse for wear, dating all the way back to 2008. All that was left was the mask and main piece.
I cut out the Bat symbol from the old costume, and used the mask, and cut off the cape. The sweat shop did open for making the bottom part of this costume into a skirt for Poison Ivy.
Robin’s R is a paper print out of the Teen Titans’ Robin Logo sewed onto a black felt circle.
Next came Poison Ivy’s Bodice. The greenery I had was from an artificial grape vine. I stuffed the top with phone books and hot glued the leaves on, leaving the sides for stretchiness. As it was, it was STILL hard to get her into it after. If you do this, REALLY STRETCH the crocheted top before gluing.
I wasn’t loving the plain-ness of the top so I added some tool which turned out to be very glittery.
I used the same loops in the top to add some color to the top. I also hot glued a flower of the red tool and some Christmas holly berried to the center.
For the Joker’s costume I made a tulle tie and flower, but it just didn’t have the umph that I wanted.
I poured through Joker costumes and comic book pics and realized that there are many versions of the Joker.
But What is consistent was that the Joker always has a sense of style and flair. That’s what I was missing. If the Joker were a girl and the kind of Dame to wear a tutu, what would she need? I freaking fascinator, that’s what.
I cut a sort of pointy oval shape out of felt, hot glued some net for over the face, and tied a few shorter strips of the colored netting I had into a knot and hot glued that onto the felt and face netting. Then I added a $.25 purple Christmas bobble to the top, twisting the stem through the knot. It seriously took 5 minutes.
I wasn’t sure how it would look bobby pinned on, but it turned out well!
I also added, from our button bin, a Card Fan tie clip and Cuff links.
The costumes wear really well.
So, I spent about 4-5 hours, and somewhere between $25-$30 total for four costumes… not too shabby!

![IMG_2417[1]](https://girlsvsblog.files.wordpress.com/2014/10/img_24171.jpg?w=224&h=300)
![IMG_2419[1]](https://girlsvsblog.files.wordpress.com/2014/10/img_24191.jpg?w=300&h=224)
![IMG_2418[1]](https://girlsvsblog.files.wordpress.com/2014/10/img_24181.jpg?w=300&h=224)
![IMG_2423[1]](https://girlsvsblog.files.wordpress.com/2014/10/img_24231.jpg?w=300&h=300)
![IMG_2425[1]](https://girlsvsblog.files.wordpress.com/2014/10/img_24251.jpg?w=224&h=300)
![IMG_2428[1]](https://girlsvsblog.files.wordpress.com/2014/10/img_24281.jpg?w=300&h=300)
![IMG_2505[1]](https://girlsvsblog.files.wordpress.com/2014/10/img_25051.jpg?w=300&h=300)
![IMG_2631[1]](https://girlsvsblog.files.wordpress.com/2014/10/img_26311.jpg?w=300&h=300)
![IMG_2632[1]](https://girlsvsblog.files.wordpress.com/2014/10/img_26321.jpg?w=300&h=300)
![IMG_2633[1]](https://girlsvsblog.files.wordpress.com/2014/10/img_26331.jpg?w=300&h=300)
![IMG_2569[1]](https://girlsvsblog.files.wordpress.com/2014/10/img_25691.jpg?w=224&h=300)
![IMG_2580[1]](https://girlsvsblog.files.wordpress.com/2014/10/img_25801.jpg?w=300&h=224)
![IMG_2621[1]](https://girlsvsblog.files.wordpress.com/2014/10/img_26211.jpg?w=300&h=224)
![IMG_2567[1]](https://girlsvsblog.files.wordpress.com/2014/10/img_25671.jpg?w=224&h=300)
![IMG_2528[1]](https://girlsvsblog.files.wordpress.com/2014/10/img_25281.jpg?w=300&h=300)
![IMG_2624[1]](https://girlsvsblog.files.wordpress.com/2014/10/img_26241.jpg?w=224&h=300)
