How To: Lay Tile Flooring
Step 1. Remove all previous flooring, base boards, fixtures (toilets/sinks) and adhesive from the floor in the room you wish to tile. Be sure the floor surface is clean and free from all debris. If the subflooring is particle board, hardwood, etc (non cement) you will need to lay cement backer board first.
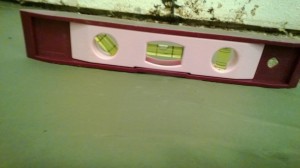
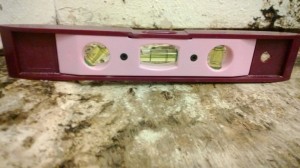
If you have cement flooring you don’t need backer board but you will need to check to see if the floor is level. If there are spots that need repair make sure to fix them first and give the area a few days to cure before beginning.
Step 2. Once your floor is prepped decide what pattern you want for your tiles and create a layout.
Step 3. Measure and cut all tiles needed to complete your layout. Do not begin setting any tiles until you have a full room layout. This ensures you won’t find yourself in a pickle (such as being one tile short) when attempting to lay your flooring.
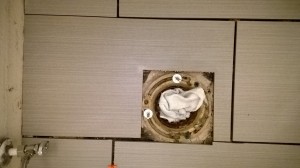
Step 4. Ensure all difficult cuts line up well and maintain proper spacing once installed. Adjust as necessary. Measure twice…cut once.
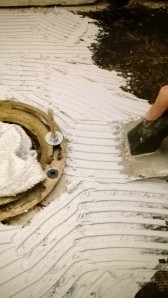
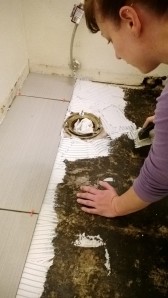
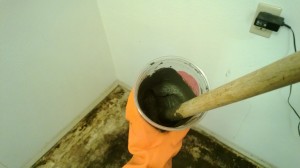
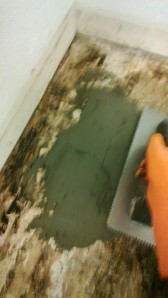
Step 5. With your full room layout complete and all tiles cut you can begin laying your tile. Begin work from the furthest point away from the exit door so that you don’t have to walk on or disturb the tile once you have begun. Start by removing two rows from your layout at a time (Keep tiles in order as you remove your two rows so you can quickly and easily grab each tile as you go). With a notched trowel scoop up a large amount of tile adhesive and begin to spread it across the floor evenly using multiple strokes to drag and pull the adhesive. Only apply enough adhesive to lay 1-2 tiles at a time to prevent the adhesive from beginning to dry before laying (I did about one tile at a time because the tiles I used were large). Take your time and make sure your tiles fit back into the layout you created as you go.
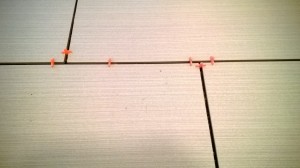
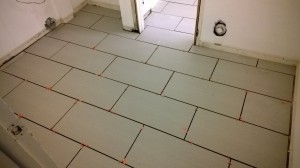
Step 6. Place tile spacers between your tiles as you lay them to ensure you maintain the same width/gap between each tile. This will be important for grouting and the over all look later.
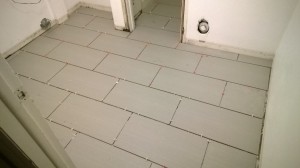
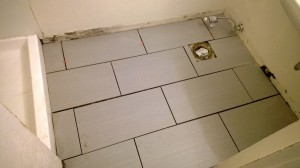
Step 7. Once you have worked your way out of the room and placed your last tile…step back and admire your handiwork. Now walk away and let your new tile cure for a few days before moving on to grouting and sealing.
Related articles
- Tile 101 : How to Lay Tile (parisrenovation.wordpress.com)
- Types Of Tile Spacers and How Are They Used? (yashplastroweb.wordpress.com)
- Install Heated Flooring for Less than What You’d Expect! (tradewindsimports.com)


