Monthly Archives: November 2014

DIY Baby Snuggler Swaddle Wrap

20141123_100657

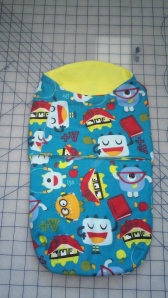
Part II of the recent baby shower gift I put together. These snuggler swaddle wraps seem to be popping up on all the registries lately and so I thought perhaps I would make a pattern so my lovely friends could have them in patterns of their choice (instead of the limited styles they have at the store). I made this one as part of the most recent baby shower gift I put together and in doing so I was able to make it out of really cute flannel monster fabric…and I was able to save $20.00 over the cost of the swaddler at Target. The way I see it…that’s win/win. After all If I can make it for less….my friends get more 🙂

 20141118_154245

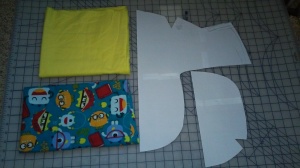
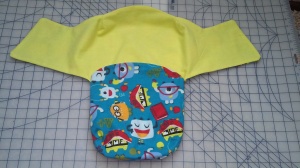
First I started by googling snuggle swaddlers so I could break down the pieces needed to create one of my own. There are a surprising number of free patterns from sewing to knitting. I took the opportunity to really assess a few for sewing and then drew out my own. Above is the pattern I made by taping together a few pieces of paper (I used some from the last presentation I went to at work so as not to waist fresh printer paper but do as you like. News paper works well for patterns as well and allows for less taping on small projects like this) and then drawing and cutting out the basic pattern. The straight areas of these patterns line up with the center fold of the fabric you are using. Next iron fabric and cut out both pieces twice (once for the outer shell and once for the liner)

20141118_164609  20141123_094243

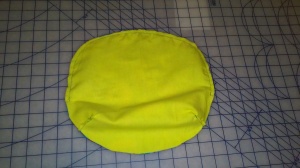
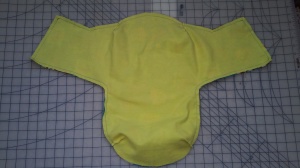
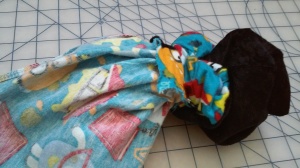
Next sew together pleats where all of the triangle cut outs appear in the pattern above -2 sets at the feet and one set at the shoulders (as you can see I added two pleats to the bottom of the main piece so it would line up with and match the front pocket piece). Then line up your outer shell and your liner (with the outer patterns facing in and sew from foot pleat to foot pleat leaving an opening between the pleats. Turn both pieces right side out and iron.

   20141123_100526 20141123_100638

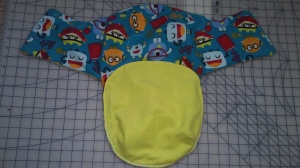
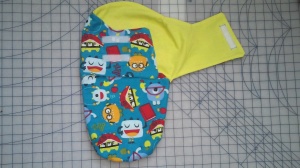
With the outer shell patterns facing in again line up the bottom foot pleats of the main body and the front pouch and sew from armpit to armpit. I used my surger to finish off the fabric at the toes to remove all raw edges. Then flip right side out for an almost completed project. At this point you can happily hold up your very recognizable swaddler and parade around the room proudly showing what you have accomplished.

20141123_104525   20141123_100657

Finally attach Velcro as your securing method. I placed a strip of Velcro on the top of the front pouch for the first fold. I placed two pieces horizontally and one piece vertically for the second fold (this allows the front piece to be adjustable based on the size of the baby).

**Update…the swaddle and sleep sack were a great success. Another successful baby shower gift complete.

Leave a comment

Filed under Budget, Children, Crafts and Gifts, DIY, Family, Motherhood, parenting

DIY Baby Sleepsack

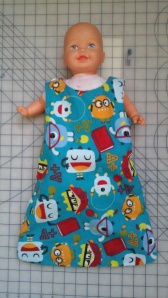
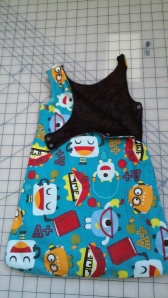
20141117_124520 Baby sleepsacks are all the rage throughout the winter months as they keep new babies nice and warm without new parents having to worry about bulky blankets which are a risk for smothering and infant death. Sleepsacks can be purchased at just about every baby store and online registry these days…but many are expensive and there are limited prints and styles. Here is one I made as a baby shower gift for a friend – the total cost was (hopefully my friend doesn’t see this post) about $5.00. There are many variations (zippers in the front instead of snaps, or Velcro along the sides, or even kimono style wrap front designs), no matter which style you choose these are always sure to be a big hit.

20141114_180354

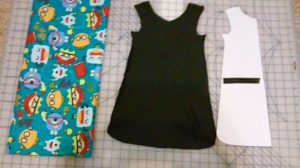
I started by picking a fabric I knew my friends would enjoy (they had registered for other fun monster print items) and then I mapped out a pattern. If you already have a sleepsack handy you can literally just trace the one you have. If you don’t you can make a paper pattern by looking up different styles as I did here. (I also used a baby onesie (3-6months) when creating the pattern to ensure the neck and arm holes would be big enough for baby to fit into them comfortably.)

20141114_182814

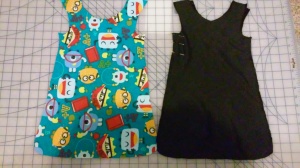
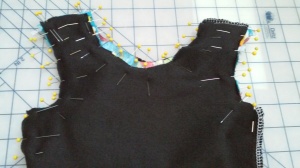
Next cut out the pattern  x 4- front and back of the outside and front and back of the liner. I used a crushed velvet material for the liner and a flannel for the outer shell. Then sew from armpit to armpit leaving about 3 inches of space on one side (this will allow the sleepsack to open so the baby can be placed inside). You can see my opening where I have left pins in the liner.

20141117_111747  20141117_112849

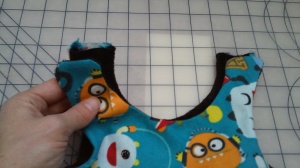
Flip the two pieces inside out and stuff the outer shell into the liner and sew together the arm pit holes and the yolk of the neck. You can close the top of 3 shoulders but leave one open so you can turn the sack right side out.

20141117_113600  20141117_113702

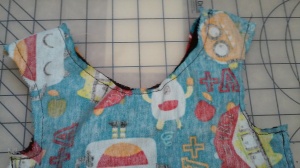
Open the whole you have left at the top of the shoulder and proceed to stuff the sack through it turning the whole thing right side out.

20141117_115021

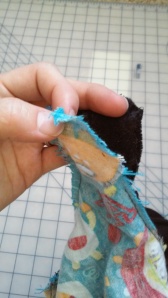
Now you only need to close up one hole and get ready to add buttons or snaps. I used a blind hem to  close the top of the shoulder so it would match the other three however you can use a straight stitch over the top after you tuck in all the raw unfinished edges.

20141117_124306

Finally add buttons to the top for a clean finished look and snaps to the insides of one shoulder and the open side. I used the button on the left to secure the left shoulder (it doesn’t open). The button on the right is just for decoration as safety snaps are what the parents actually use to close the garment up. Vowalla one happy custom sleepsack ready for a new baby.

Leave a comment

Filed under Budget, Children, Crafts and Gifts, DIY, Family, Motherhood, parenting

Steamkids

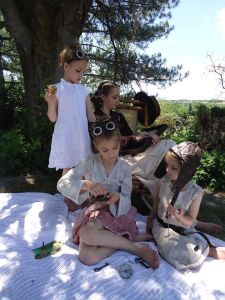
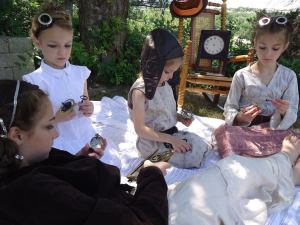
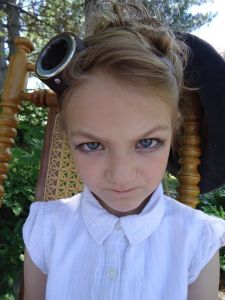
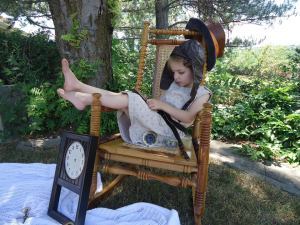
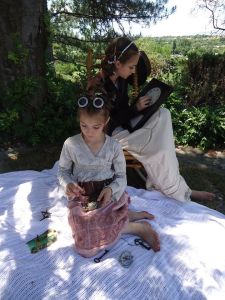
A few months ago, my girls came across my steam punk bag.  They of course have their own dress ups, but they were interested in playing in mine.  If you’re going steam, you should do it right. Make up, hair, accessories… They were so adorable we decided on an impromptu photo shoot.

I’m not a photographer by any means, but we’ve been loving how fun my silly little iPhone shoot turned out.

The other fun part about this was… they get it.  The beauty of Victorian/Steam themed clothes and trinkets.  They dressed up and became all too serious about it.   Geeks in training right here.

10458820_10152626422122652_1966404095757252143_n

Steam baby

Steam baby

10313949_1431326837143892_4565252136345901104_n 10342751_1431327043810538_5603927183414086855_n 10381997_1431327313810511_7449861202510051615_n 10447074_1431327147143861_7246380353326441149_n 10516590_1431327187143857_8822778331231211357_n 10460508_1431326987143877_4681337614439047968_n

Leave a comment

Filed under Cosplay, Costumes, Dressups, steampunk