
With an upcoming Halloween/Birthday party, I wanted a huge frame for a photo booth. Turns out, it is a cute overall decor item too!
Simple black frame from press board
It started when the fall clean up for our city was taking the large garbage items. I looked a the huge piece of press board we had in the garage and wanted it re-purposed or thrown out. With the upcoming party, I thought I’d repurpose it for a photo booth.
Step one: Find a work station. I had nothing that large, so I used to long tables.
Step two: Measure out and trace your frame.

Measure and trace the guide for cutting
Step three: Use a drill to make starting your cut and making corners easier.

Step four: Use your favorite saw for the job. I love my jigsaw.

The hole you drilled helps you start cutting lowering your chance of a snapped blade.
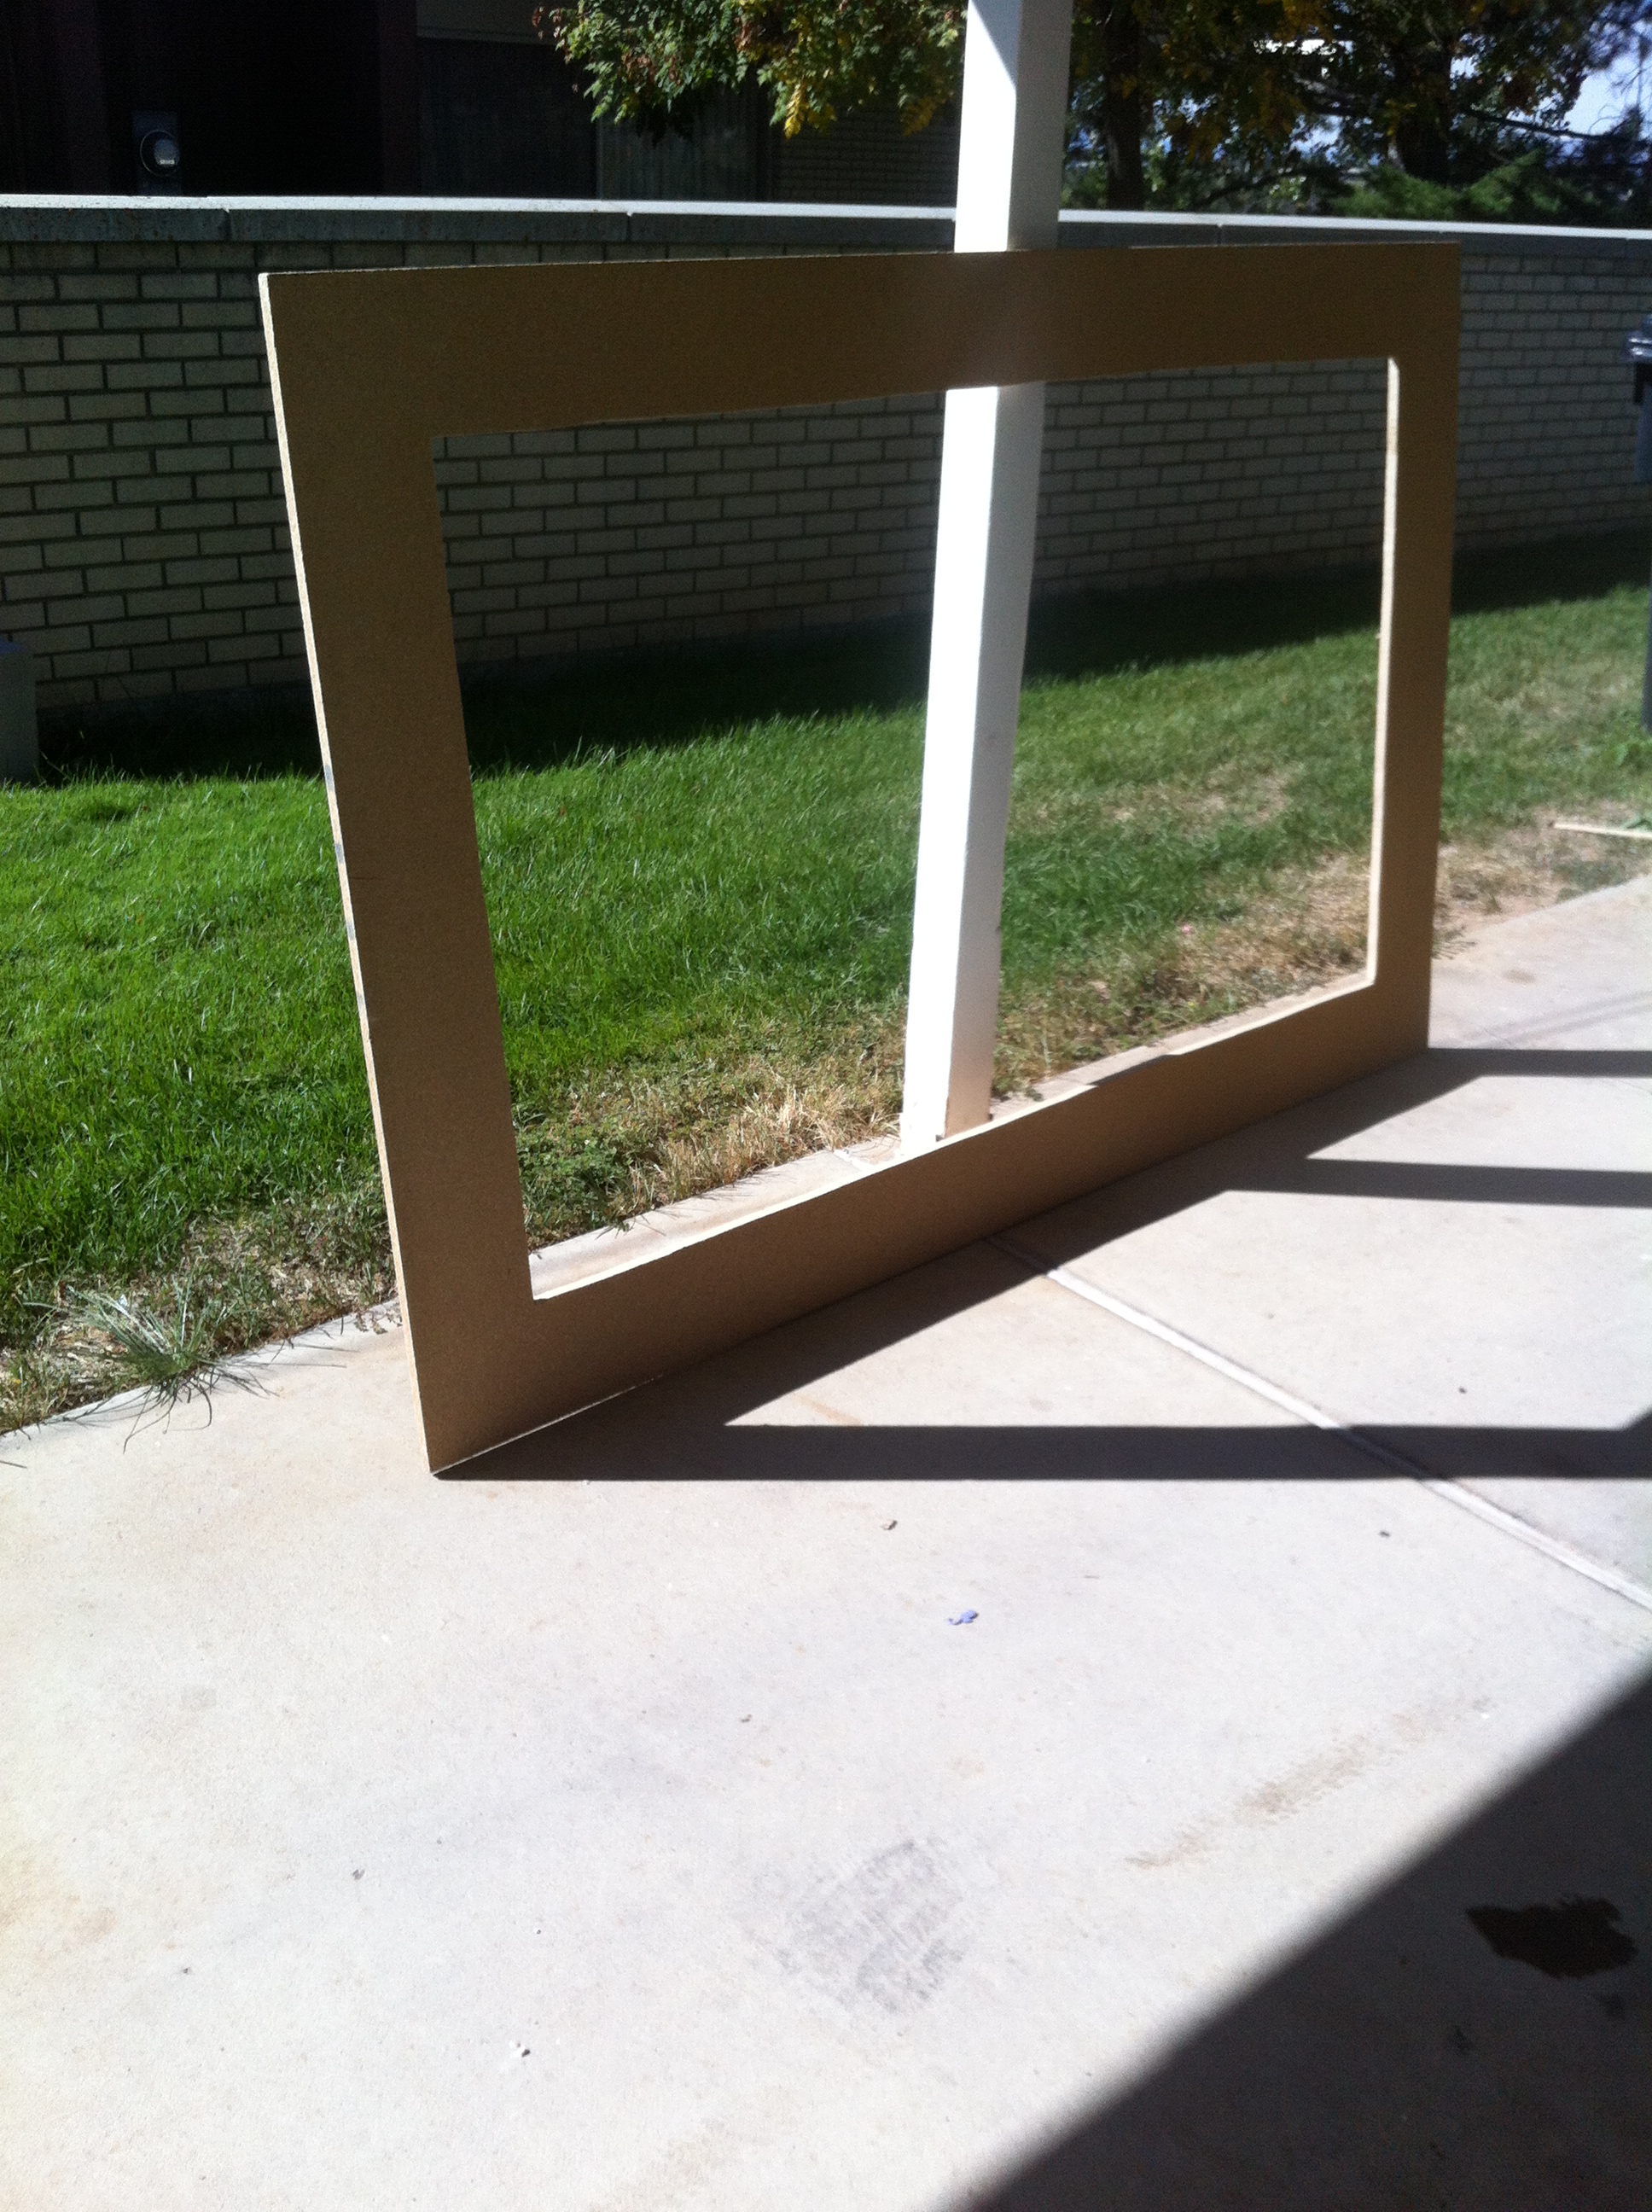
Step five: Admire your handiwork. Take a break and grab your choice of covering.
Step six: Cover the baby up. I was going for a Halloween look, so I used a Dollar Store black plastic table cloth and packing tape, as I misplaced the duct tape I wanted. Your size and shape makes a difference in how you wrap. Mine was really large and I made it six inches thick the entire way around the frame. So I cut the table cloth into strips and taped it.

Duct tape would have been better, but the packing tape held.
Step seven: Admire your handiwork again. It’s not too shabby and it didn’t take long.

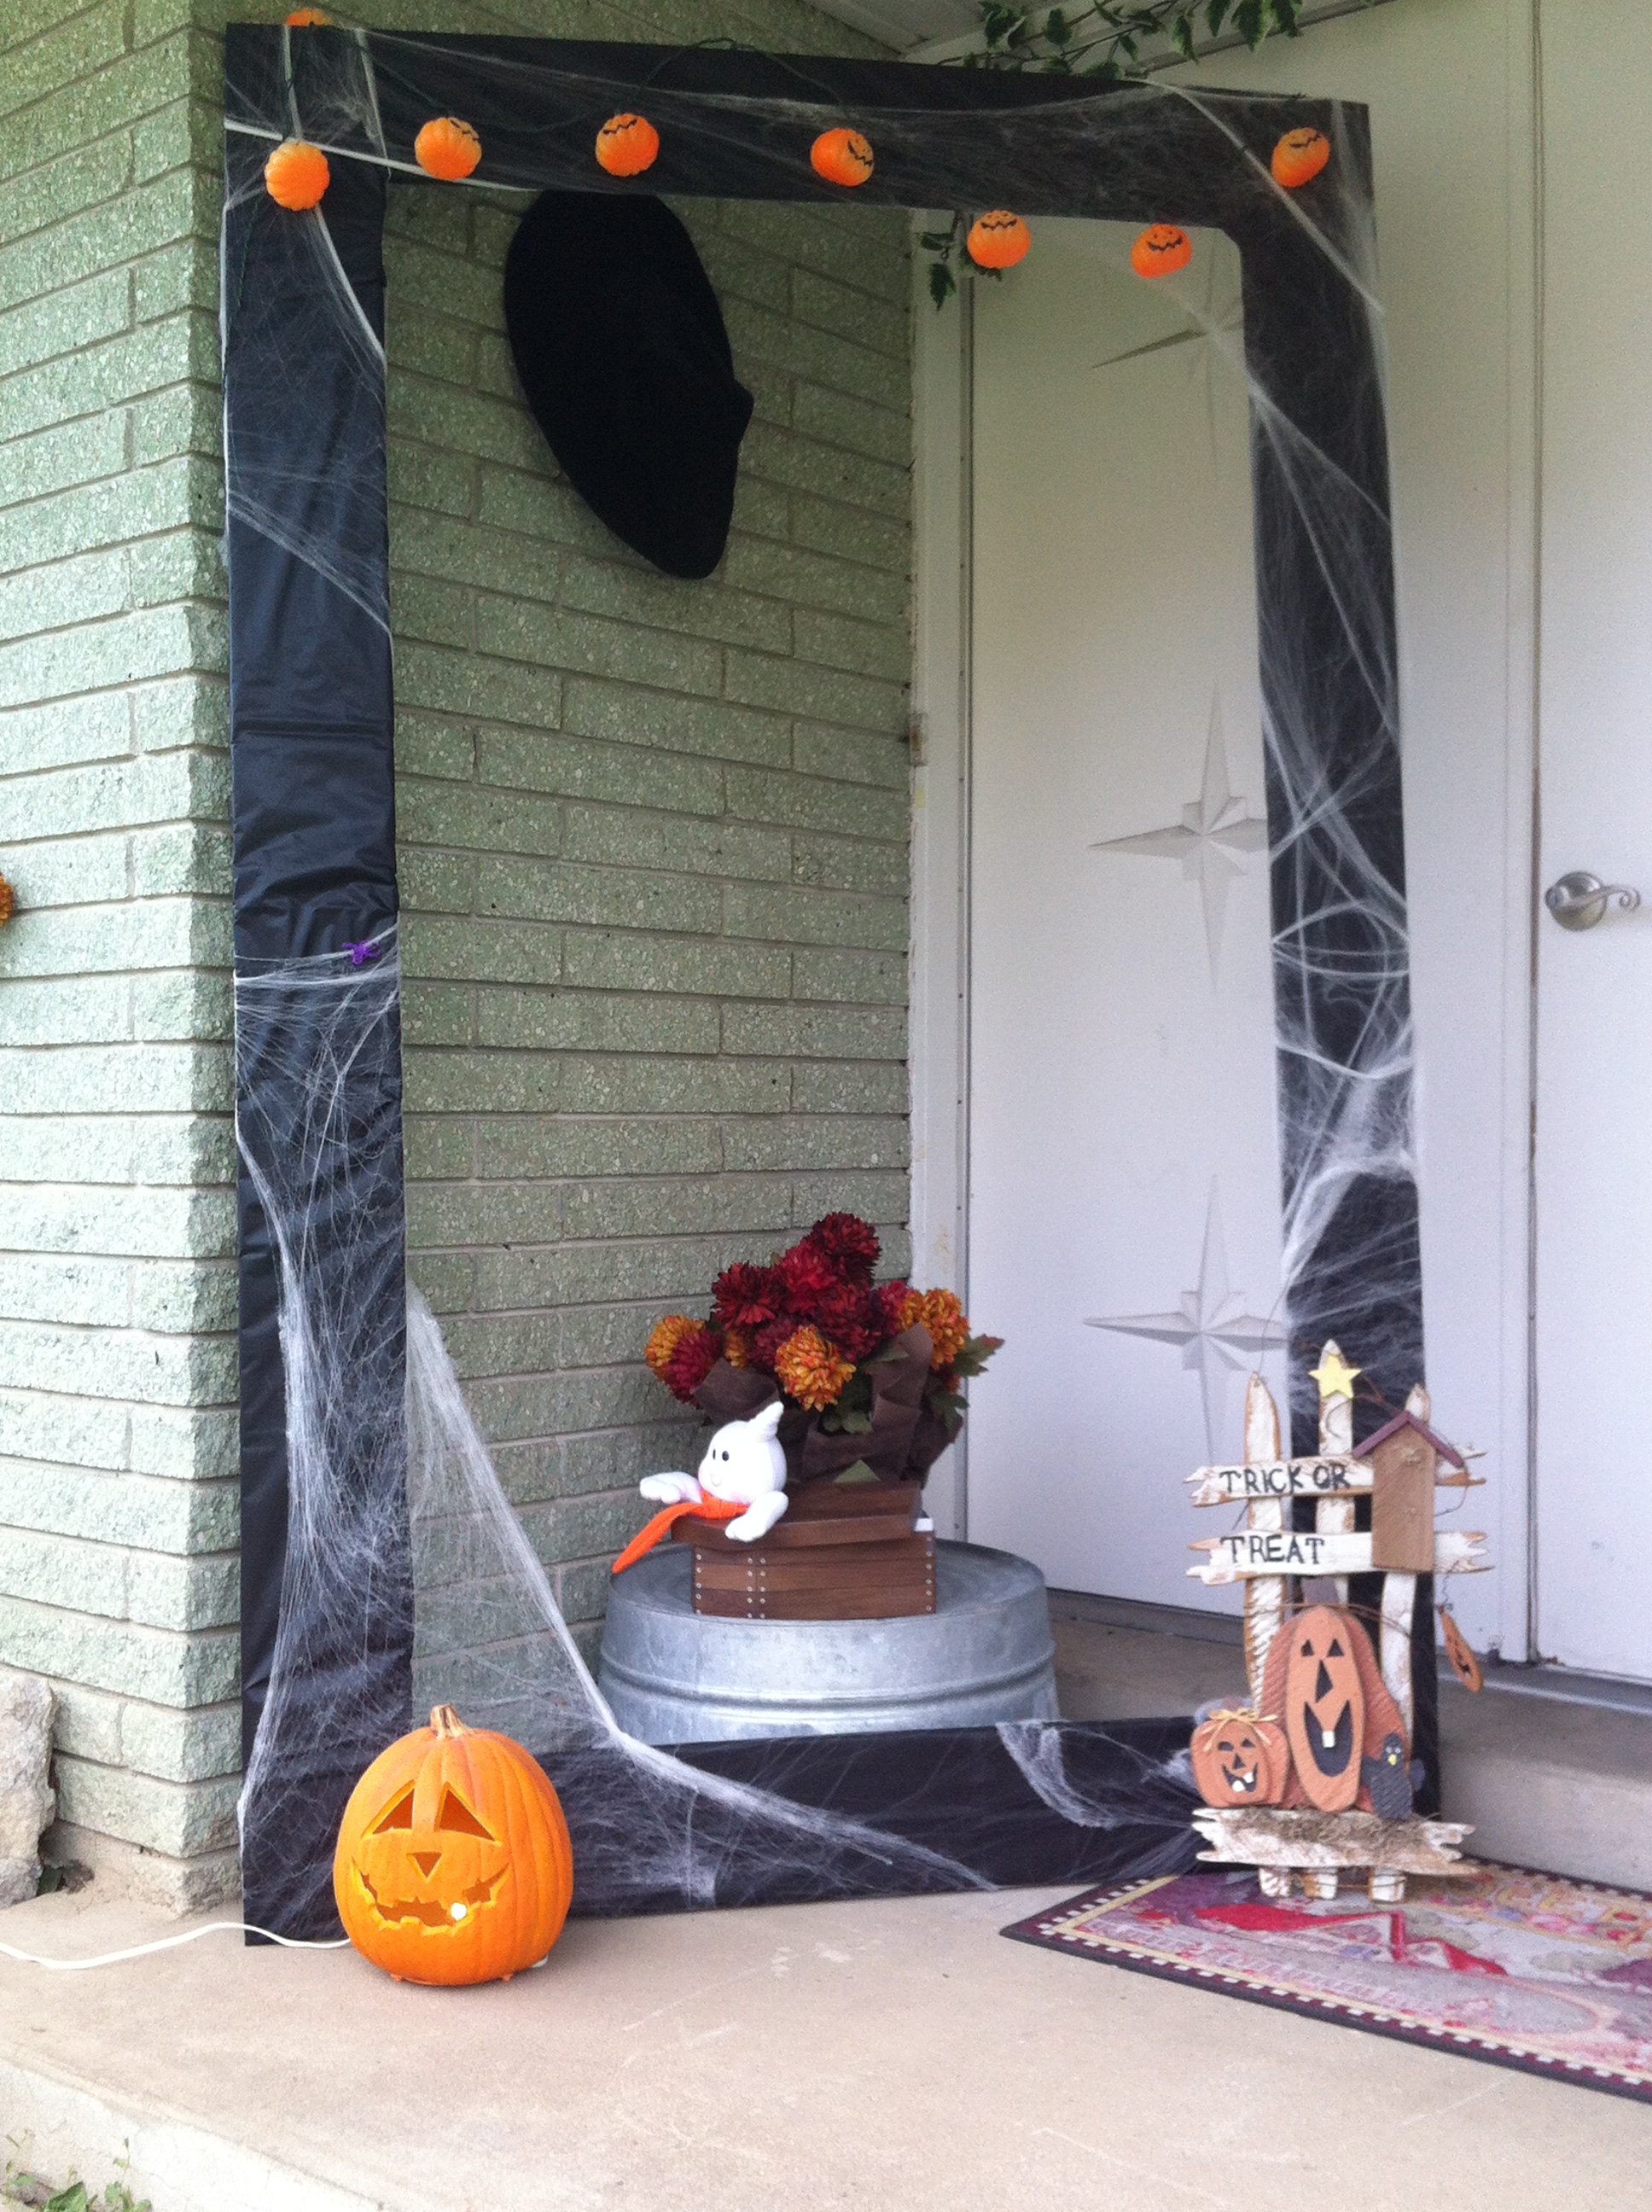
Step eight: Add embellishments like cobwebs and other decor.
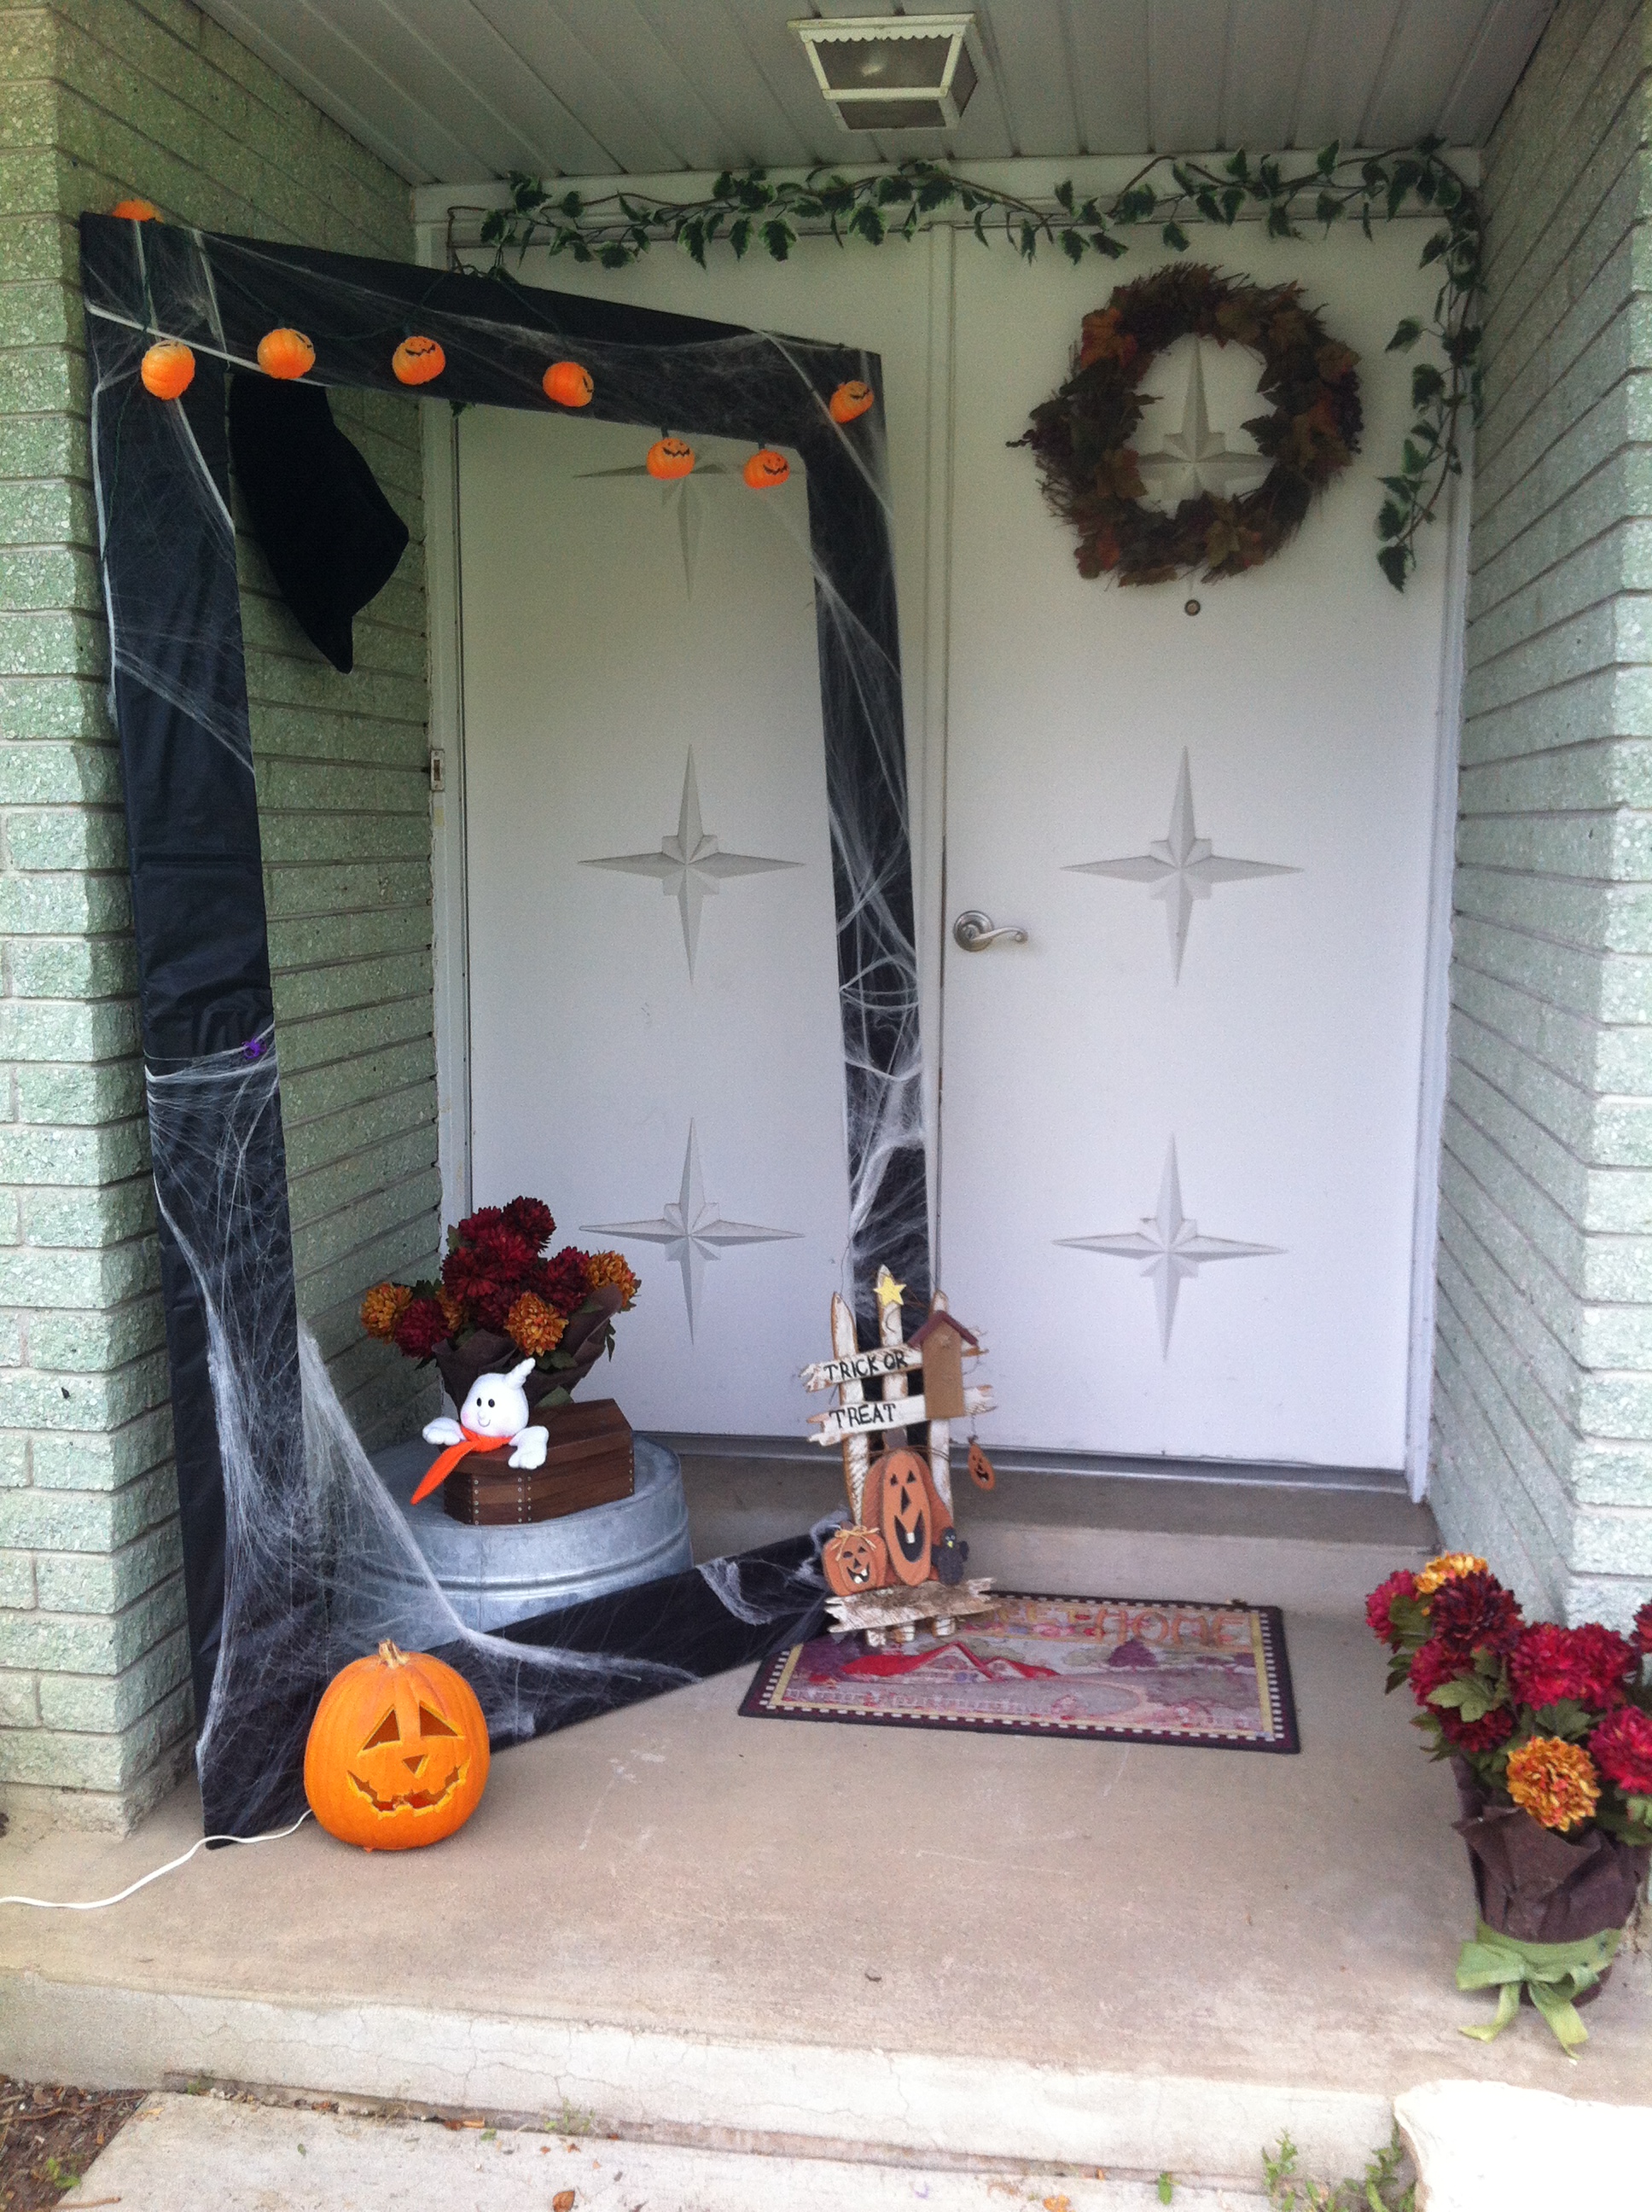
Finished Product.
For the party, I’ll move it out and prop it up, but for now, I rather like it by the door.
Related articles
- Easy Halloween DIY Projects That Won’t Scare Your Wallet (artisticsensations.com)
- 20 Festive Halloween Garlands You Can Buy and DIY (brit.co)
- DIY: Photo Booth Backdrop (therabblebabble.com)


I love your DIY frame for the photo booth/décor! It turned out great!!
Also, thanks for the pingback! :]
Thanks! I love your post!
You’re welcome! Thanks, I just love DIY projects! They’re so fun! :]