
How To: Remove Laminate Flooring
1. Identify the room you wish to change the flooring in.

Step 2. Remove baseboards, decorative molding, etc from around the perimeter of the room (occasionally this may not be over the top of the laminate but you will want to pull it up anyway so you can place your new floor properly.)

Step 3. Use a box cutter or multi-use tool to cut the silicone seal around the base of any fixture you are not removing before or at the same time as the flooring (these fixtures should however be removed prior to laying the new flooring. (It is never wise to lay new flooring around an existing fixture such as a toilet or sink. In the event of an accident or leak down the road having access to the base of these fixtures is very important.)


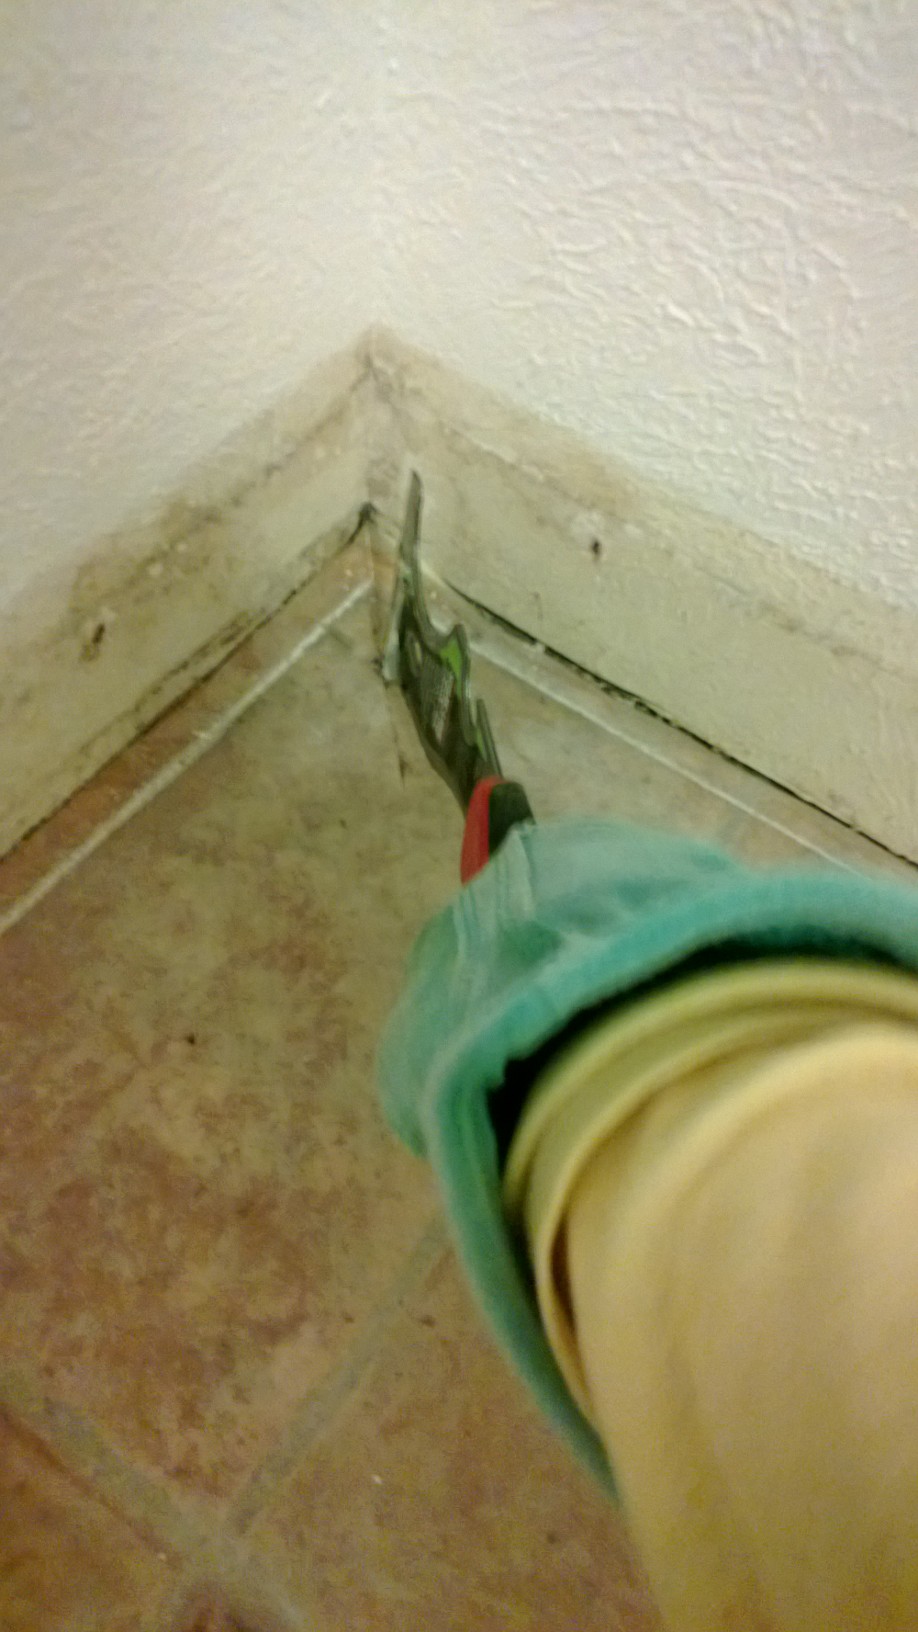
Step 4. Using your same multi-use tool (I’m using my SHUR LINE 10 in 1 tool available at the local hardware store http://www.lowes.com/pd_178391-1077-07217_0__?productId=3018291 ) or utility knife start in the corner of the room furthest from the door. Cut a line straight out from the corner, use the edge of your multi-tool to get underneath the laminate flooring and lift along the cut area. Then grab with your gloved hand (It will be very sticky under the laminate) and pull.


Step 5. Remove all laminate from the floor working toward the door so you don’t have to step on the adhesive under the laminate (which will stick to the bottom of your shoes and then come off somewhere else in your house you don’t want to find it). The laminate may come up in one piece if you are lucky…or if (like this room) the previous owners used black tar to adhere the laminate to the subflooring you may be in for a bit more work. The laminate in this room was very difficult to peal up and I had to take it out in strips. Eventually I worked out a system where I would muscle up a piece large enough to hold on to and then I would squat and lean back so my backside could do the heavily lifting for me (What can I say it was one of those times I felt thankful for all that junk in my trunk lol). It was a lot more work than I expected but in the end I had a room free of laminate and ready for cleaning to start the tiling process!
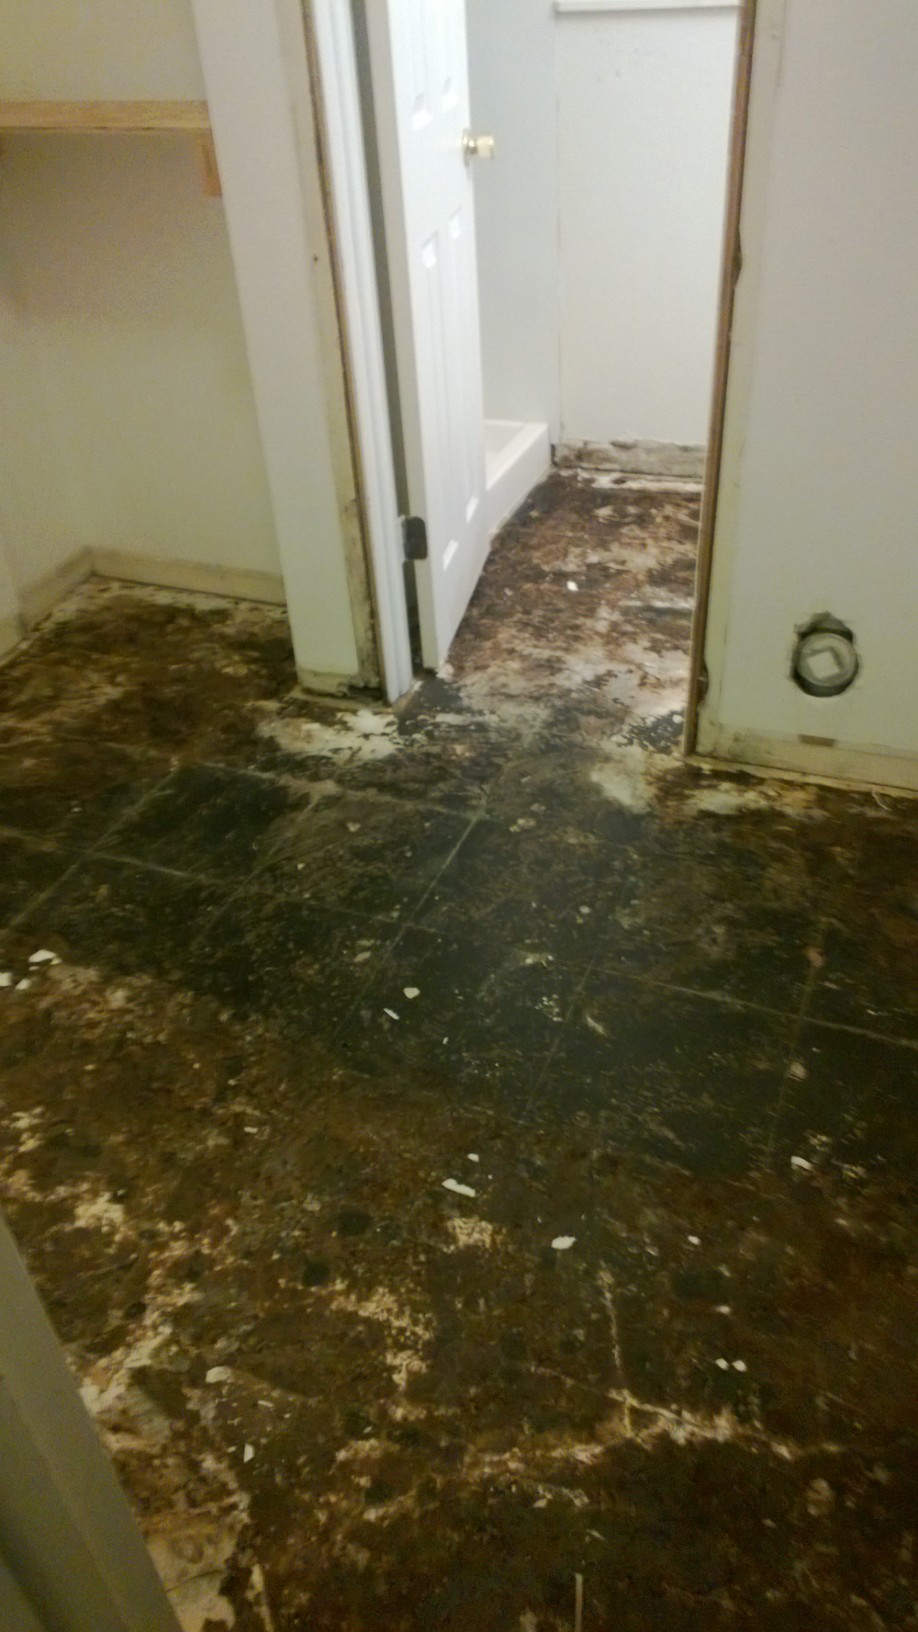
Step 6. Admire your laminate free floor before heading to the store to pick up adhesive remover.

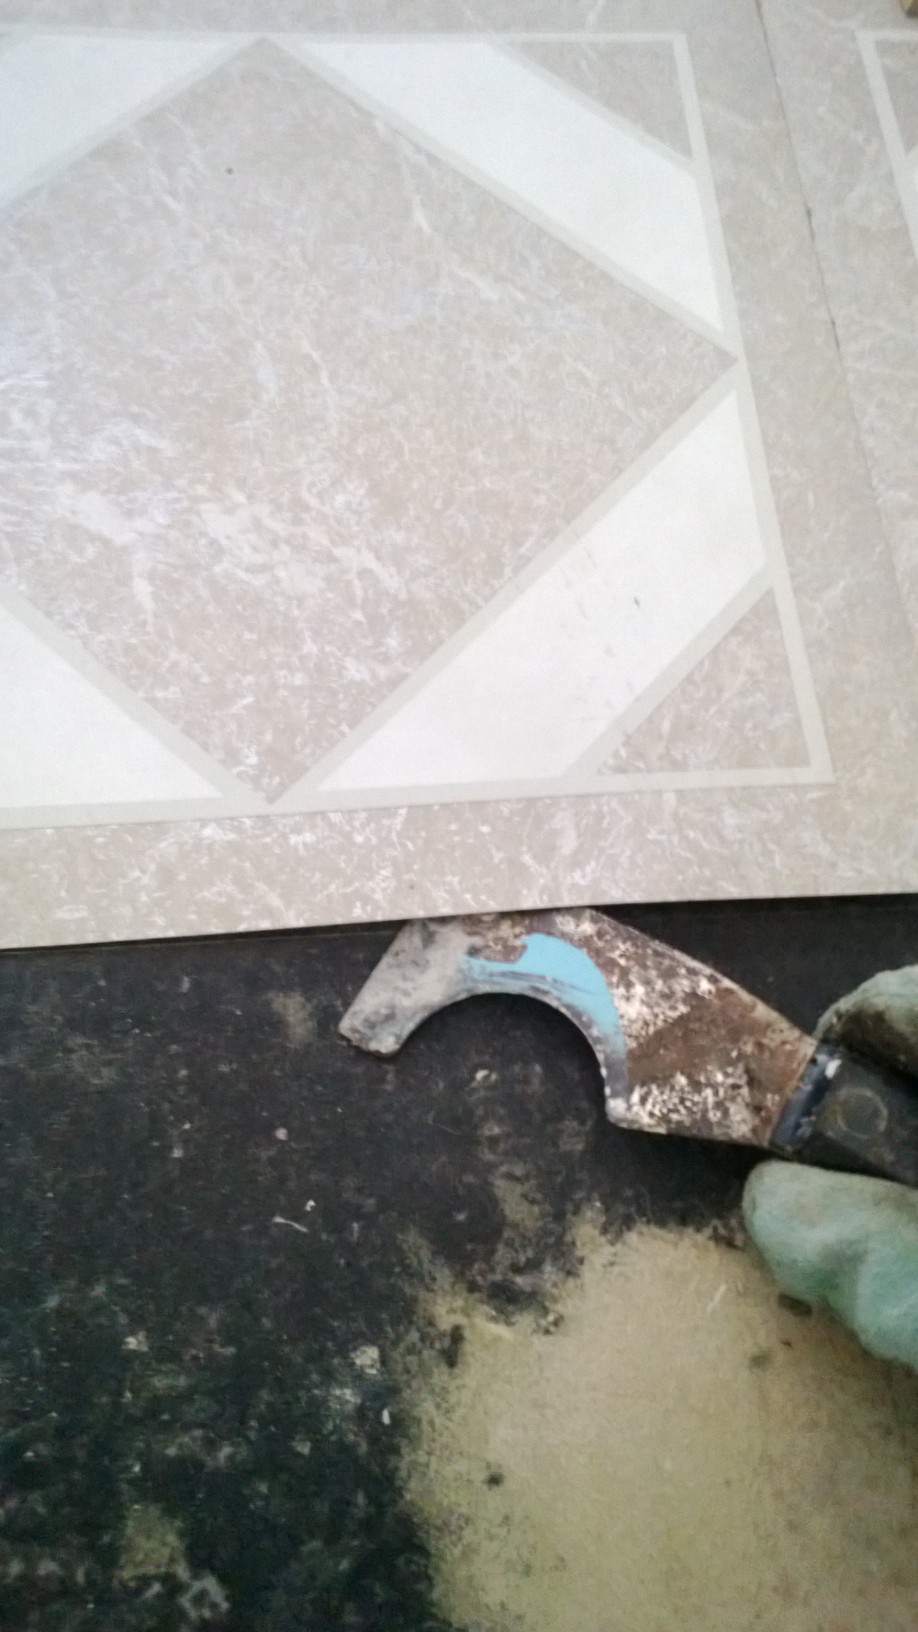
Side note…here is the other bathroom I have removed the laminate flooring in. In this room the previous owners used self sticking individual laminate squares. The adhesive on these is much less durable than the black tar adhesive used for large sheets of laminate…as a result these squares came up very easy. Simply place the tip of your multi-tool under the edge of each square and pop them up! A few stuck better than others, but on whole the process in this bathroom was very easy.
Congratulations you just removed your old laminate flooring!


Thanks for sharing information about how we can remove laminate flooring and fix new ones on that place. It is very easy and professionals can do this very easily.
Thanks for the feedback and for checking us out here at girlsvsblog!
You are providing the best way how we can remove exist laminate flooring. There are various tools and equipments which help to remove it easily. Thanks a lot….